VirtualBox is a general-purpose full
virtualizer for x86 hardware. Targeted at server, desktop and embedded use, it is now the only professional-quality virtualization solution that is also Open Source Software.
Some of the features of VirtualBox are:
- Modularity. VirtualBox has an extremely modular design with well-defined internal programming interfaces and a client/server design. This makes it easy to control it from several interfaces at once: for example, you can start a virtual machine in a typical virtual machine GUI and then control that machine from the command line, or possibly remotely. VirtualBox also comes with a full Software Development Kit: even though it is Open Source Software, you don't have to hack the source to write a new interface for VirtualBox.
- Virtual machine descriptions in XML. The configuration settings of virtual machines are stored entirely in XML and are independent of the local machines. Virtual machine definitions can therefore easily be ported to other computers.
- Guest Additions for Windows, Linux and Solaris. VirtualBox has special software that can be installed inside Windows, Linux and Solaris virtual machines to improve performance and make integration much more seamless. Among the features provided by these Guest Additions are mouse pointer integration and arbitrary screen solutions (e.g. by resizing the guest window). There are also guest additions for OS/2 with somewhat reduced functionality.
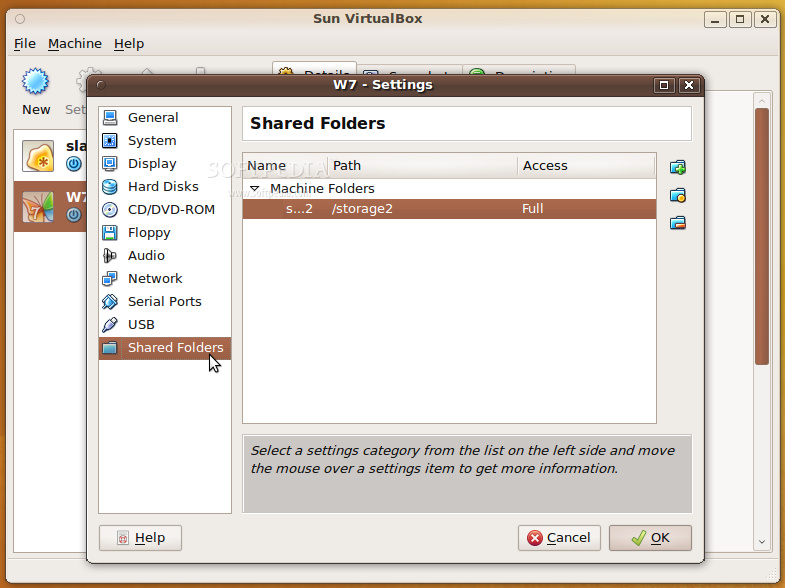
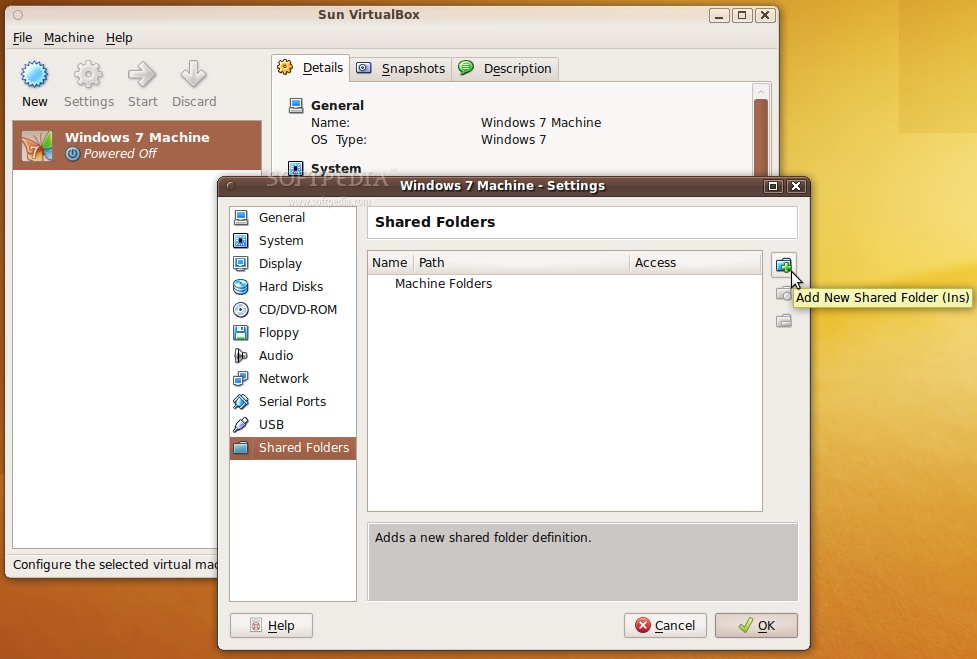
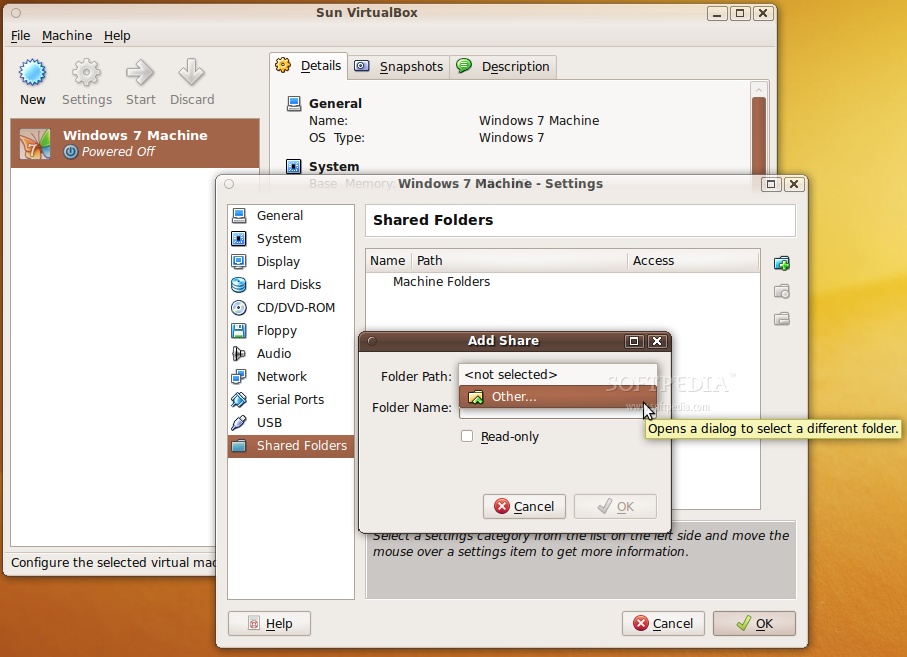
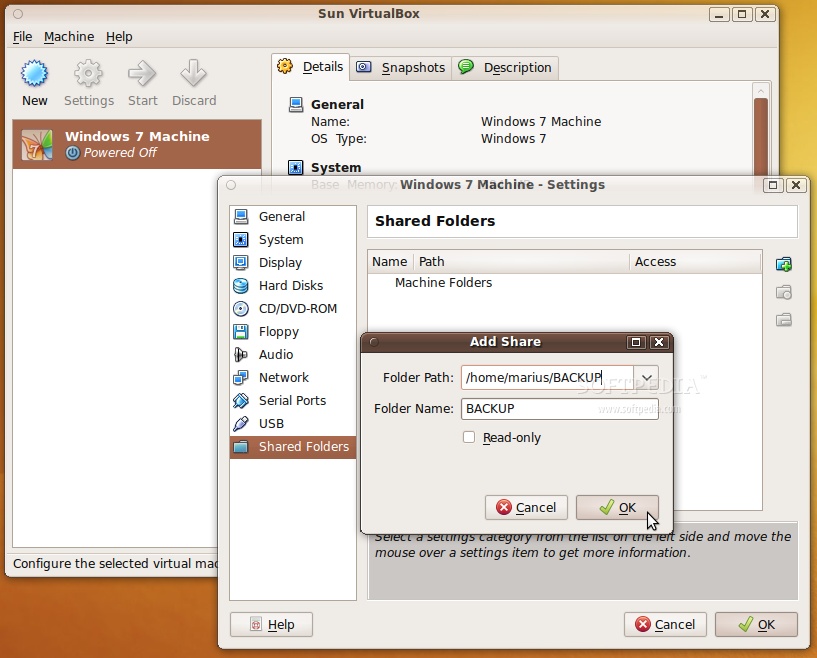
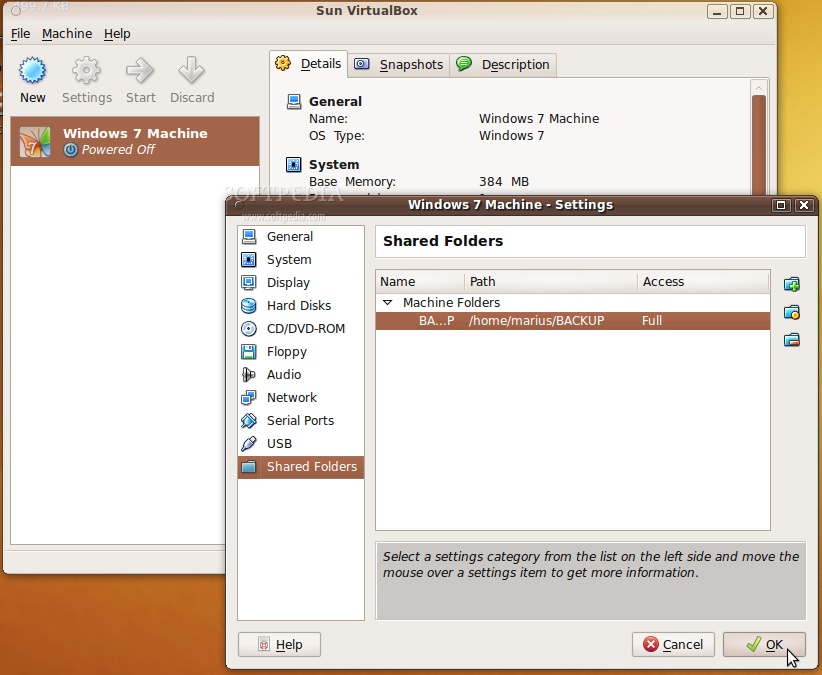
- Shared folders. Like many other virtualization solutions, for easy data exchange between hosts and guests, VirtualBox allows for declaring certain host directories as "shared folders", which can then be accessed from within virtual machines.
A number of extra features are available with the full VirtualBox release only (see the "
Editions" page for details):
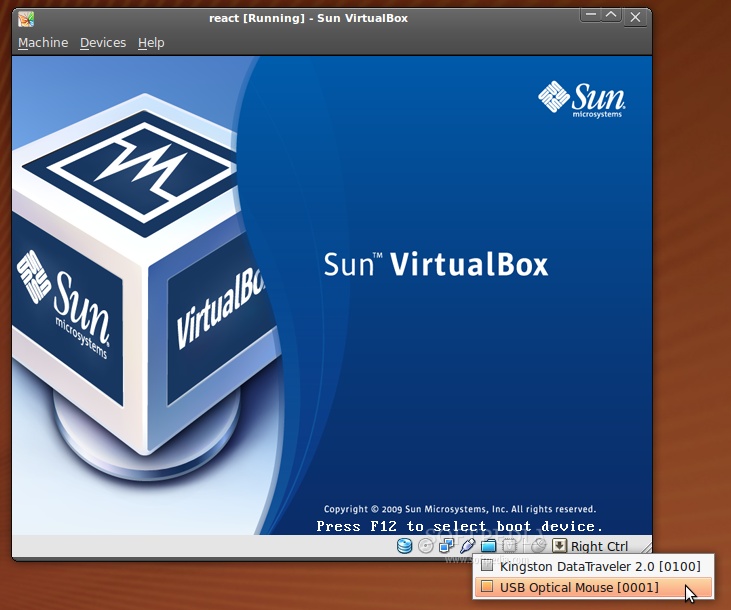
- Virtual USB Controllers. VirtualBox implements a virtual USB controller and allows you to connect arbitrary USB devices to your virtual machines without having to install device specific drivers on the host.
- Remote Desktop Protocol. Unlike any other virtualization software, VirtualBox fully supports the standard Remote Desktop Protocol (RDP). A virtual machine can act as an RDP server, allowing you to "run" the virtual machine remotely on some thin client that merely displays the RDP data.
- USB over RDP. With this unique feature, a virtual machine that acts as an RDP server can still access arbitrary USB devices that are connected on the RDP client. This way, a powerful server machine can virtualize a lot of thin clients that merely need to display RDP data and have USB devices plugged in.
Download VirtualBox
Here, you will find links to VirtualBox binaries and its source code.
VirtualBox binarie
The binaries in this section are all released under the
VirtualBox Personal Use and Evaluation License (PUEL). By downloading, you agree to the terms and conditions of that license.
- VirtualBox 3.1.6 for OS X hosts Intel Macs
Due to an accident the original 3.1.6 Mac OS X package (build 59338) was broken. Please install the fixed package if you installed the broken package. Sorry for the inconveniences!
- VirtualBox 3.1.6 for Solaris and OpenSolaris hosts x86/amd64
- VirtualBox 3.1.6 Software Developer Kit (SDK) All platforms (registration required)
This is a snapshot of the OSE sources at the time of the stable 3.1.6 release.
This is the current development code, which is not necessarily stable.
- Checking out from our Subversion server.
svn co http://www.virtualbox.org/svn/vbox/trunk vbox
This is the current development code, which is not necessarily stable.
Note: The repository was recently moved. If svn update aborts with an error message regarding a moved repository, then do
svn switch --relocate \
   http://virtualbox.org/svn/vbox/trunk \
http://www.virtualbox.org/svn/vbox/trunk
After getting the sources in one of the ways listed above, you should have a look at the
build instructions.
End-user documentation
This page is for end users who are looking for information about how to download and run VirtualBox.
In order to run VirtualBox on your machine, you need:
- Reasonably powerful x86 hardware. Any recent Intel or AMD processor should do.
- Memory. Depending on what guest operating systems you want to run, you will need at least 512 MB of RAM (but probably more, and the more the better). Basically, you will need whatever your host operating system needs to run comfortably, plus the amount that the guest operating system needs. So, if you want to run Windows XP on Windows XP, you probably won't enjoy the experience much with less than 1 GB of RAM. If you want to try out Windows Vista in a guest, it will refuse to install if it is given less than 512 MB RAM, so you'll need that for the guest alone, plus the memory your operating system normally needs.
- Hard disk space. While VirtualBox itself is very lean (a typical installation will only need about 30 MB of hard disk space), the virtual machines will require fairly huge files on disk to represent their own hard disk storage. So, to install Windows XP, for example, you will need a file that will easily grow to several GB in size.
- A supported host operating system. Presently, we support Windows (primarily XP) and many Linux distributions on 32-bit hosts and on 64-bit hosts. Support for Mac OS X and Solaris and OpenSolaris appeared in 1.6.
- A supported guest operating system. Besides the user manual (see below), up-to-date information is available at "Status: Guest OSes".
 | VirtualBox for FreeBSD. This screenshot shows a first version running Ubuntu. NAT networking works. |
 | VirtualBox for FreeBSD. This screenshot shows a first version capable of running Windows. |
 | VirtualBox for Mac OS X. One virtual machine is running in seamless mode on Leopard. Note the realtime preview of the virtual machine in the dock. |
 | VirtualBox for Mac OS X, currently in beta test. Two virtual machines are visible: one with Windows Vista, another with Gentoo Linux. |
 | Creating a new, empty VM for installing Windows Vista. |
 | The new VM in the VirtualBox main window. Note that an ISO file (containing the Vista setup CD) has been mounted as the VM's CD-ROM drive. |
 | After starting the VM, it boots off the virtual CD-ROM (the ISO file with the Vista setup), and Vista Setup starts up. |
 | Vista is installing into the virtual hard drive. |
 | Vista install complete: the log-on screen. |
 | Compiling VirtualBox on Ubuntu Edgy Eft in VirtualBox on Windows XP. |
 | Details of a snapshot performed after Vista installation. We can revert the virtual machine to this snapshot at a later time. |
 | Damn Small Linux 2.0 works damn well in VirtualBox! |
 | The Virtual Disk Manager allows you to work with VM images. |
 | VirtualBox in Vista inside VirtualBox on XP? Perhaps some day... |
 | A community-based effort is underway to port VirtualBox to OS/2 hosts. This screenshot shows a first alpha version. | | | | | |
Send me your feedback on lifeisbeautiful0505@gmail.com






 Posts
Posts

